
8 Steps to Cleaning a Breville Espresso Maker
Have you been looking for better ways for cleaning a breville espresso maker and more details about the Breville brand?
If so, then welcome to RunDreamAchieve Coffee. I am glad you have made it here. We have a wide variety of delicious coffee available here. My hope is that this post and the resources located here will be what you were looking for.
Also, if interested in running or fitness be sure to check out our main site, RunDreamAchieve. There are numerous fitness resources there to set you up for success with your fitness goals.
Be sure to subscribe to the RunDreamAchieve YouTube channel. My aim there is to create new weekly content to help runner like you get to the next level in your training and racing.
Keeping your Breville espresso maker clean is key to getting the best taste from your coffee and making sure the machine lasts a long time. It might seem like a lot, but breaking it down into steps makes it totally manageable. We'll walk you through how to get your machine sparkling clean, just like you're a pro.
Key Takeaways
- Regular cleaning prevents coffee oils and mineral buildup, improving taste and machine lifespan.
- Utilize the machine's built-in cleaning cycle with a cleaning tablet for a quick internal flush.
- Descaling removes mineral deposits, especially important if you have hard water.
- Backflushing with a cleaning disc helps clear out residual coffee grounds and oils.
- Don't forget to clean removable parts like the portafilter, drip tray, and water tank separately.
1. Run Cleaning Cycle
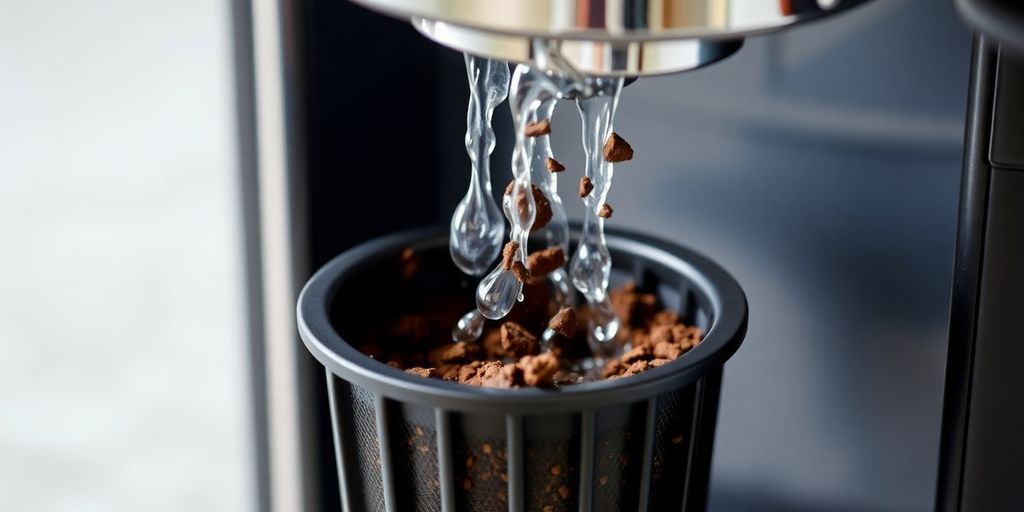
Your Breville espresso maker has a handy built-in cleaning cycle that helps keep things running smoothly. It's designed to flush out old coffee oils and residue, which can really affect the taste of your coffee if left unchecked. This cycle is your first line of defense against gunk buildup.
Here’s how to get it done:
- First, make sure your machine is turned off and unplugged. Safety first, right?
- Next, grab the gray silicone cleaning disc and the 1-cup filter basket. Pop the disc into the filter basket, then place that whole setup into your portafilter.
- Now, lock the portafilter into the group head. It should feel snug.
- Turn the machine back on. You'll want to press the "Clean Me" button. If your machine doesn't have a "Clean Me" button, check your manual; it might be a button combination.
- The machine will then start its cleaning routine. It uses about 300ml of water to rinse everything out and dissolve any cleaning tablet you might have added (though the cycle itself does a lot of the work). This usually takes about five minutes. You'll know it's done when you hear a couple of beeps.
- Once it's finished, carefully remove the portafilter. Rinse the cleaning disc and the portafilter itself under some warm water to get rid of any remaining cleaning solution or coffee bits.
It's a pretty straightforward process, and doing this regularly really makes a difference in keeping your espresso tasting great. You can find more details on how to perform this on your specific Breville espresso machine.
If you notice the "Clean Me" light is still on after running the cycle, it might mean there's still some residue or the cycle didn't fully complete. You can try running it again, just to be sure.
SHOP FOR ESPRESSO MACHINES TODAY BY CLICKING HERE
2. Descale the Machine
Over time, mineral deposits from your water can build up inside your Breville espresso maker. This gunk can mess with the temperature, water flow, and even the taste of your coffee. Descaling is basically a deep clean that tackles this buildup. It’s different from a regular cleaning cycle because it specifically targets those hard-to-reach mineral bits.
When to Descale
How often you need to descale really depends on your water. If you have hard water, you might need to do this every month or so. If your water is softer, you might get away with doing it every three to six months. Some Breville models have a light that tells you when it’s time, but it’s good to keep an eye on it yourself too.
How to Descale
First things first, make sure your machine is off and unplugged. You’ll want to empty the drip tray and the water tank. If you have a water filter in the tank, take that out for now. Then, grab a descaling solution – you can buy specific ones made for espresso machines, or some people use a mix of water and white vinegar.
Just follow the instructions on the descaler packet or your machine’s manual for the right mix. Usually, it’s about one packet dissolved in a liter of warm water. Pour this solution into the water tank and put it back in the machine.
Now, to get the machine into descale mode, you’ll typically press and hold a couple of buttons at the same time. For many Breville models, this is the ‘Power’ and ‘2-cup’ buttons. Hold them down for about ten seconds. The power button will start flashing, showing it’s heating up and ready to go.
Once it’s heated, the machine will start the descaling process. It might take a bit, and you’ll see the solution running through the group head and the steam wand. You might need to repeat this a few times to get all the solution through the tank. Just keep an eye on the lights and buttons to know what the machine is doing. It’s a good idea to have a container ready to catch the liquid.
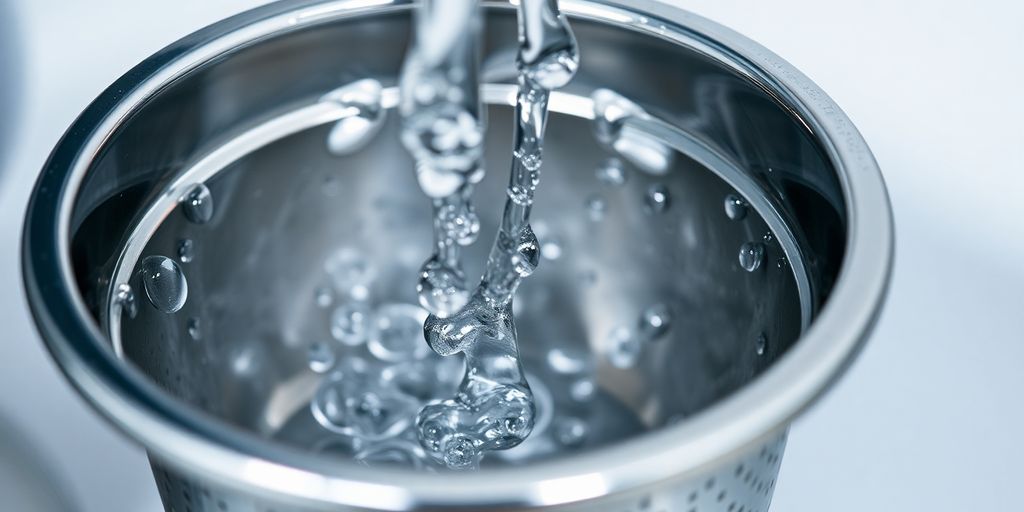
After the descaling solution is all used up, you’ll need to rinse the machine really well. Empty the tank, give it a good wash, and fill it with fresh, cold water. Run a few cycles with just plain water through the group head and steam wand to make sure no descaling solution is left behind.
What You'll Need
- Commercial descaling solution or white vinegar
- Clean cloths
- A container to catch water
- Fresh water
Descaling is a bit more involved than a regular clean, but it’s super important for keeping your espresso machine running smoothly and making great coffee. Don't skip this step!
SHOP FOR ESPRESSO MACHINES TODAY BY CLICKING HERE
3. Backflush the Machine
Backflushing is a really important step to keep your Breville espresso maker running smoothly and making great coffee. It basically means running water backward through the machine's group head and shower screen. This helps to clear out any old coffee grounds or oils that might be stuck in there, which can really affect the taste of your espresso.
Think of it like rinsing out a dirty mug – you want to get all the gunk out. Doing this regularly, ideally after each use or at least daily, will make a big difference.
Here’s how you do it:
- First off, make sure you’ve got the little rubber cleaning disc that came with your machine. Pop that into your portafilter.
- Next, lock the portafilter into the group head. It should feel snug.
- Now, press the button for a single shot (the 1-cup button). Let it run for about 20 seconds, then stop it. You should see some water back up into the portafilter.
- Repeat this process about 3 to 4 times. You're just trying to build up a little pressure and then release it, pushing water back through the system.
- After you're done, remove the portafilter, discard the cleaning disc, and give everything a good rinse.
It might seem like a small thing, but this simple backflush really helps keep your machine clean and your coffee tasting its best. It's one of those maintenance tasks that pays off big time.
4. Clean the Portafilter
The portafilter is where the magic happens, holding your coffee grounds for that perfect shot. Because it's constantly in contact with coffee oils and grounds, it needs regular attention. Don't let those oils build up, or your coffee will start tasting bitter.
Here's how to give it a good clean:
- Rinse it out: After each use, give the portafilter and the filter basket a good rinse under hot water. This gets rid of most of the loose coffee bits and oils.
- Use the cleaning tool: If you notice any blockages in the filter basket holes, use the little pin on your Breville cleaning tool to gently poke them clear.
- Soak when needed: For a deeper clean, especially if things are looking a bit gunky, remove the portafilter and filter basket. Soak them in a bowl of hot water for about 20 minutes. This really helps loosen up stubborn coffee residue.
- Dry thoroughly: After rinsing or soaking, make sure to dry both the portafilter and the basket completely before putting them back. Moisture can lead to rust or other issues.
Remember, never put your portafilter or filter baskets in the dishwasher. The harsh detergents and high heat can damage the metal and affect how they work.
This simple routine will keep your portafilter in great shape and your espresso tasting its best.
5. Clean the Drip Tray
The drip tray is where all the leftover coffee and water ends up, so it can get pretty gross if you don't keep an eye on it. It’s best to empty and rinse the drip tray after every use, or at least daily if you're making multiple drinks. This prevents any stale coffee smells from lingering and stops gunk from building up.
Here’s a quick rundown:
- Slide out the drip tray. Most Breville models have a little handle or a way to easily pull it out.
- Empty the contents into the sink. You might want to have a cloth handy for any drips.
- Give it a good rinse with warm water. If there's any stubborn residue, a little bit of dish soap and a soft sponge should do the trick. Just make sure to rinse it really well afterwards.
- Don't forget to empty and rinse the little cup that catches the drips from the steam wand, too, if your machine has one.
- Slide the clean, dry tray back into place.
Keeping this part clean is super simple but makes a big difference in how your machine looks and smells. It’s one of those small tasks that really helps maintain your espresso maker, and you can find genuine cleaning supplies for your Barista Express® if you need them. Just remember to dry it thoroughly before putting it back to avoid any water spots.
6. Clean the Steam Wand
Don't forget about the steam wand! It's where all that lovely milk gets frothed, but it can also be a breeding ground for dried milk if you're not careful. A quick wipe down after each use is your best friend here.
Here's how to give it a proper clean:
- Purge it: Right after you steam milk, turn on the steam function for a few seconds. This blasts out any milk that's still inside.
- Wipe it down: Grab a damp cloth (a separate one from your general cleaning cloth, if possible) and wipe the wand thoroughly. Get rid of any milk residue clinging to the outside.
- Soak if needed: If milk has really caked on, you might need to let the wand soak for a bit. Some people use a jug of hot water, or even a bit of diluted descaling solution, but always check your machine's manual first. Just make sure you don't submerge the entire wand, only the tip.
Keeping the steam wand clean isn't just about looks; it's about hygiene and making sure your next latte doesn't taste like yesterday's cappuccino.
Remember to check your machine's manual for any specific recommendations for your model, as some wands might be removable for a deeper clean.
7. Clean the Water Tank
The water tank is where all the magic starts, so keeping it clean is pretty important. If you've got hard water, mineral buildup can happen, which isn't great for your machine or your coffee. It's a good idea to give it a good rinse regularly.
Here’s how to tackle it:
- Remove the tank from the machine. It usually just lifts right out.
- Empty any leftover water and give it a good swish with some warm water. You can use a soft cloth or sponge, but avoid anything abrasive that could scratch the plastic.
- Rinse thoroughly to make sure no soap or residue is left behind.
- Reassemble and refill with fresh, cold water. If you're using a water filter, now's a good time to check if it needs replacing according to your machine's manual. Keeping your water source clean helps maintain the quality of your espresso and prolongs the life of your machine.
Don't forget to check the seals and gaskets around the tank area for any signs of wear. If they look a bit worn out, it might be time to think about replacing them to prevent leaks.
8. Wipe Down Exterior
After all the internal cleaning is done, it’s time to give your espresso maker a good polish. This step is all about making it look as good as it performs. A clean exterior not only looks nice but also helps prevent dust and grime from getting into the machine's workings.
Here’s how to tackle the outside:
- Group Head and Steam Wand: Use a damp cloth to wipe down the group head where the portafilter attaches. Don't forget the steam wand; a quick wipe after each use is best, but a more thorough wipe now is good too. Make sure to get any milk residue off the steam wand.
- Control Panel and Buttons: Gently wipe down the buttons, dials, and the control panel. Avoid getting too much moisture into these areas. A slightly damp cloth is usually sufficient.
- Housing and Base: Wipe down the main body of the machine, including the sides and the base. Pay attention to any areas where coffee grounds or spills might have landed.
- Portafilter Handle and Drip Tray Area: Give the handle of the portafilter a good wipe, and clean around the drip tray opening. This is often a spot where stray grounds collect.
Remember to use a soft, damp cloth. For tougher spots, you might need a bit of mild dish soap, but always wipe it off with a clean, damp cloth afterward. You can even wash some of the removable parts, like the filter basket and lid, with warm, soapy water, or check if your manufacturer says they're dishwasher safe. Just make sure everything is completely dry before reassembling or turning the machine back on.
Keeping the outside clean is just as important as the inside. It prevents buildup and makes your machine a more pleasant thing to have on your counter. Plus, it just feels good to use a shiny, clean appliance!
Keep Your Breville Brewing Like New
So there you have it – a pretty straightforward way to keep your Breville espresso maker in good shape. It might seem like a bit of a chore at first, but honestly, it’s worth it. A clean machine means better-tasting coffee, and it’ll probably last a lot longer too.
Think of it as giving your coffee buddy a little TLC. Plus, now you know how to tackle it, it’s not so intimidating anymore. Just remember to check your manual if you’re ever unsure about something. Happy brewing!
Frequently Asked Questions
How often should I run the cleaning cycle?
It's a good idea to run the cleaning cycle about once a week, or whenever the "Clean Me" light comes on. This helps keep your machine working well and your coffee tasting great.
What is descaling and why is it important?
Descaling removes mineral buildup, like limescale, from inside your machine. This is important because hard water can make your coffee taste funny and even damage the machine over time. You should descale your machine every 1-3 months, depending on how hard your water is.
What is a backflush and when should I do it?
Backflushing helps clear out old coffee grounds and oils from the group head, which is where the coffee brews. Doing a simple water backflush after each use can keep things clean and your coffee tasting fresh.
How do I clean the portafilter and filter basket?
You can clean the portafilter and its filter basket with hot water. If they get really clogged, you can soak them in hot water for about 20 minutes. Just make sure the machine is unplugged before you start cleaning these parts.
Can I use vinegar to clean my espresso machine?
Yes, you can use a mix of equal parts water and white vinegar to clean and descale your Breville espresso machine. Just follow the steps for descaling, using this mixture instead of a commercial descaler.
What are the most important safety tips when cleaning my machine?
Always unplug your machine and let it cool down before you start cleaning. Never dip the electrical parts, like the base or power cord, into water. Just wipe them with a damp cloth. Also, check your user manual for specific safety tips for your model.
SHOP FOR ESPRESSO MACHINES TODAY BY CLICKING HERE